Notes from diary (double click on images):
Feb 17,
Friday
Set up
work table up, moved pet bowls out, and blocked doorway.
1 ½ hours spent looking over printing sequence, to figure out which color to work on next.

Two hours
spent cutting 6 x 4 inch block (above).
One hour
spent pencil layout on 12 x 19 inch block (below).
Reference studies were taped to the front of each block for image placement.
 I rubbed graphite on the back side, and drew marks on the front side to transfer onto the block.

Feb 18, Saturday
Two hours
spent cutting on 6 x 4 inch block and 12 x 9 inch block.
It was easier to tape the small block to the top of a small metal canister. That elevated the block and made viewing the tiny cuts better.
(See next video)
Click video to see transfer marks cut on small block. Six minutes long.
Feb 19,
Sunday
One hour spent locating and setting out more clothespins.
One hour spent to put dried sheets in order for hand printing.
15 minutes
spent on blue ink test strips.
(above) After inking small block, I noticed the cuts in the sky were too shallow and the ink was filling them in.
(above) Spent 40 min
re-cutting the dapple in sky, made cuts deeper so brayer ink would not fill in cuts.
(above) After one more hour all ten 10 x 12 inch sheets received their second color, and one trial print of the 12 x 9 inch block was made (below).
The palette and inked blocks were wrapped in plastic wrap for the night.
Feb 20, Monday
(holiday)
½ hour spent to scrub ink off blocks with soap and water, towel dry.
Two hours
to store small prints in museum box with glassine.
Constructed
paper window to mask the border for the large block (above). The block was inked first and pushed flush against the wood rig. The paper window was carefully laid on top of the inked block. The blank sheet was dropped on top of the block and hand burnished from the back.
Dug and cleaned
up cuts on large block.
Decide against a blue border along the edge of the large block.
Two hours spent
inking test strips of blue to match.
Inked nine of
18 x 15 inch sheets with second color.
Hit a snag!! The inside
edge of the paper window was leaving odd inked line on the prints. What could I do to prevent that? That frustration was wrecking my day....
The solution was to fold
and smooth scotch tape over inside edge of mask. Then I added wide slick “packing
tape” over inside edge of window. I covered both sides of mask window with that tape (below).
To insure no ink would be transferred by mistake, I wiped ink off the slick paper window after each print was pulled. (below, I have pressed the mask against the back door with my hand, and wiped the ink off with a damp rag.)
Cleaned up and
rearranged room
Feb 25, Saturday
Set up
work table up, moved pet bowls out, and blocked doorway.
One hour
spent to mix and match blue ink
(above) After five hours
straight all thirty-one 18 x 15 inch large sheets received their second color. Done for the day. Whew!!!
½ hour spent on clean up and putting supplies away.
(above) Compare sizes of small print on left and large print on right.
Mar 4, Sunday
Set up
work table up, moved pet bowls out, and blocked doorway.
One hour
spent sorting and ordering large dry sheets. Some borders were uneven. Every impression was one of a kind.
Two ¼ hours
spent cutting on small and large blocks for next color.
½ hour
spent cleaning up.
One hour
spent downloading photos and videos to work computer.
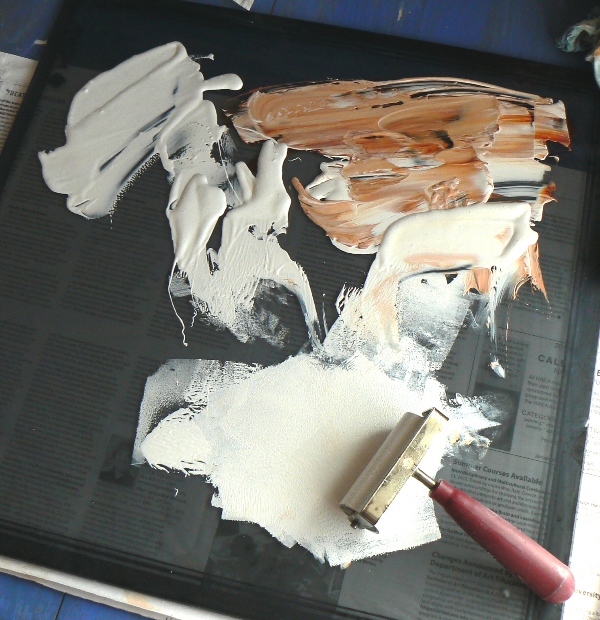
A few weeks rolled by while I waited for an ink order to arrive. The company sent me white screen printing ink by mistake. The Kansas City Utrecht store assured me that the viscosity would have been too thin to use for block printing. Finally, the New Jersey office sent the correct ink (below).
Four 8 ounce jars of white block print ink. During the waiting period, I came to accept my new border decision. No border for the large block.
In March cut both blocks for the next color. To be continued,,,,,,,,,,,