A week after making the masa ready, I gave attention to my paper registration guides (right). Double click on images to make larger.
I planned for both the small and
 large reduction linocut blocks to have a 3 inch border. Could I fashion wood to make the rig units I needed?
With a yardstick and pencil, I went outside to gather materials from my wood shed, and a handsaw to cut with. My storage shed, once a studio, built by me, housed tools.


A narrow lath board would be glued to a 2 x 1 pine board to make the vertical side of the rig. A single lath board would make the horizontal side.


 After sawing, each of the eight inch lengths were made even with sandpaper.
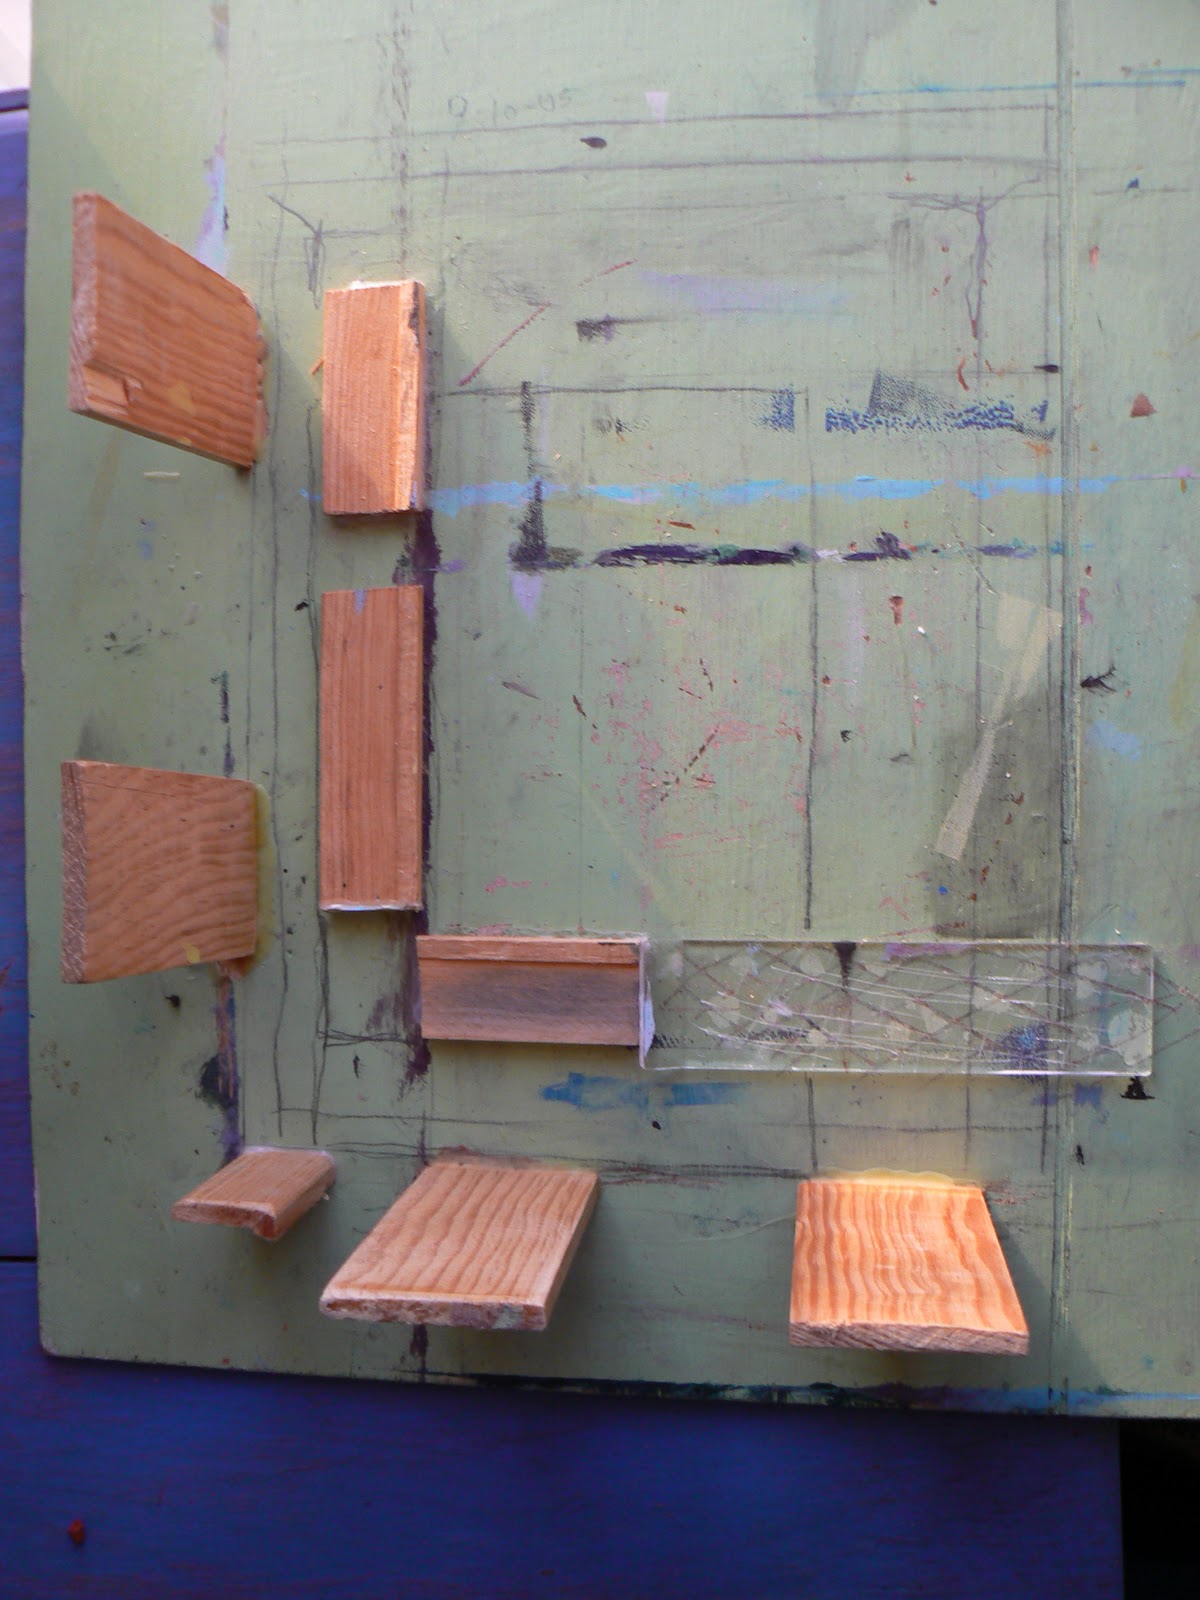
Before applying glue I scored the side with a piece of steel (left).
The vertical and horizontal units were glued separately.
After the wood glue dried I discovered the rig units were taller than the depth of the lino blocks.
By clenching each rig unit between my shoes
 I was able to saw units in
half length wise. Left, you can see the rig is lower than the thickness
of the block. I scored the wood pieces, glued the two units together, and waited
for them to dry. Then I gave the dried rig a coat of Polyacrylic. (So that any ink
smudges could be wiped off, during the printing process.)
I was able to saw units in
half length wise. Left, you can see the rig is lower than the thickness
of the block. I scored the wood pieces, glued the two units together, and waited
for them to dry. Then I gave the dried rig a coat of Polyacrylic. (So that any ink
smudges could be wiped off, during the printing process.)
Finished rig in my hand.

I re-measured the vertical registration guides and found two of them to be off by half an inch. So I snapped them off the board, scored the board, and glued them the distance I wanted.
 Now the guides are even.
L-shaped rig set beside the registration guides.

An inked up lino block snug against the new rig.


No comments:
Post a Comment