Showing posts with label student work. Show all posts

Sunday, April 2, 2017

texture please - students

Students added texture March 27th, 28th, 29th, and 30th. Double click to see images enlarged.


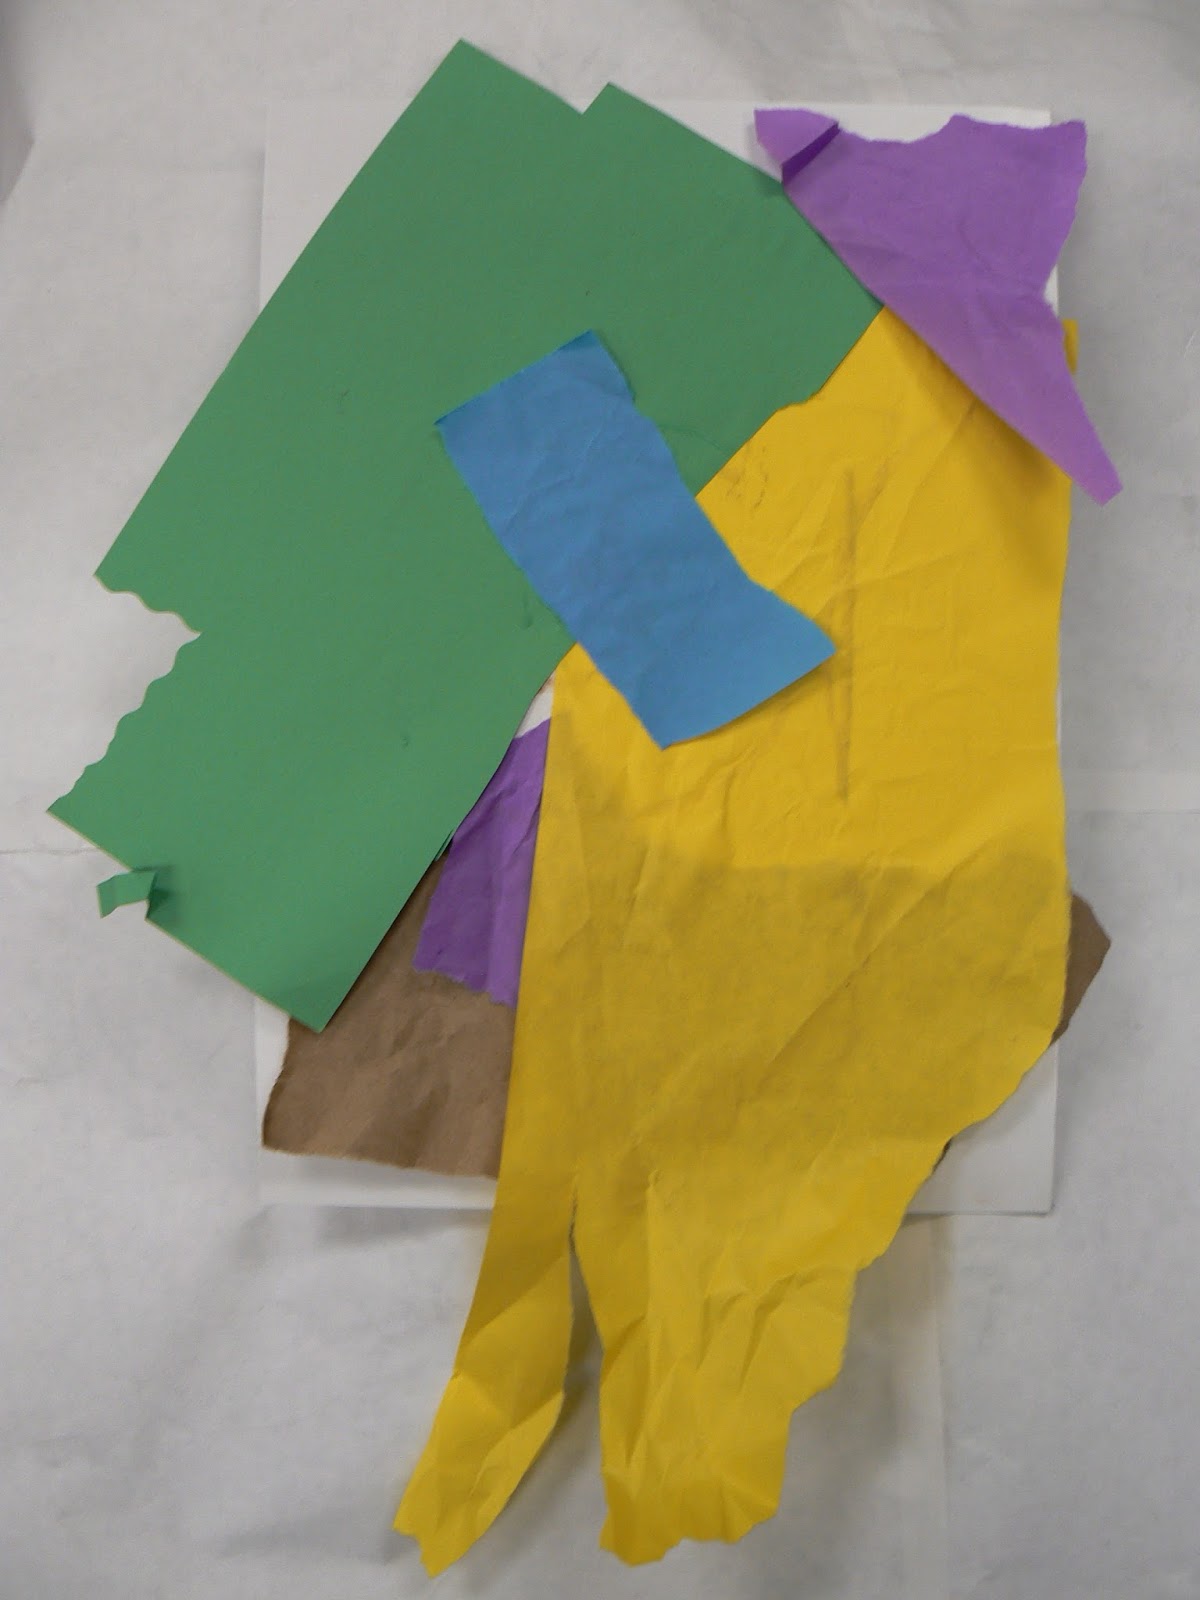
Students took the paper collage 
they had started last time and added
plastic and portions of mesh on top of it. 


Mrs. Marxhausen, the art instructor, had me there to assist Wednesday March 29th and Thursday March 30th. Behind her desk I composed an example to share with the group.
 

Secure large shapes with strings pushed through the poster board and tied on the back. Use a material you can see through. To have shapes underneath as well as above it. Here I secured orange peel. You can see strips of fabric are both under the mesh and on top of it. Next.


When you find shapes of interest, place them TOGETHER where they CAN be seen. Outside that area have patterns or papers that are LESS  INTERESTING.


Two groups worked with dryer lint, separating it into colors and hand forming shapes. They were inspired by a piece under glass I had brought into the classroom. Under glass by Reinhold Marxhausen, string detail, next.


Closeups of student lint + cardboard + mesh collage, below.


Second student piece, next.


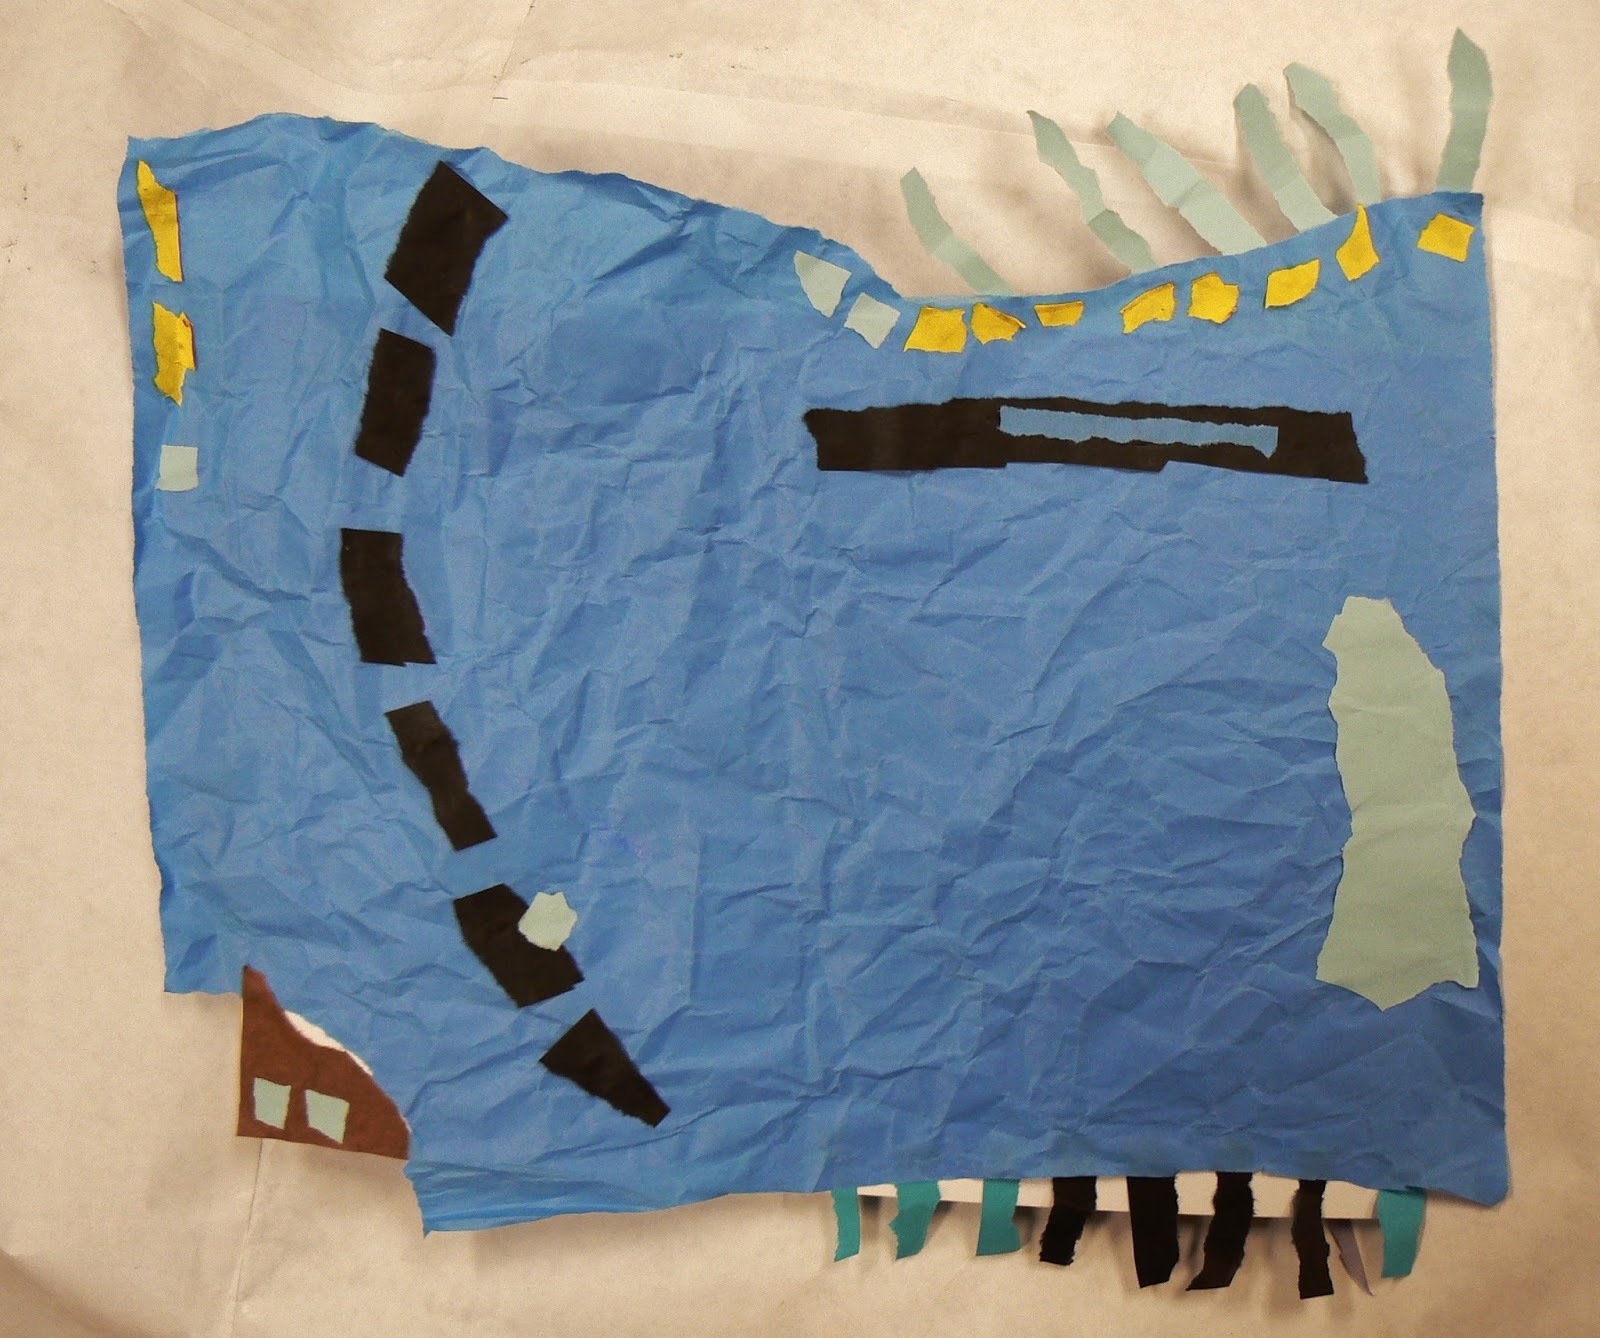
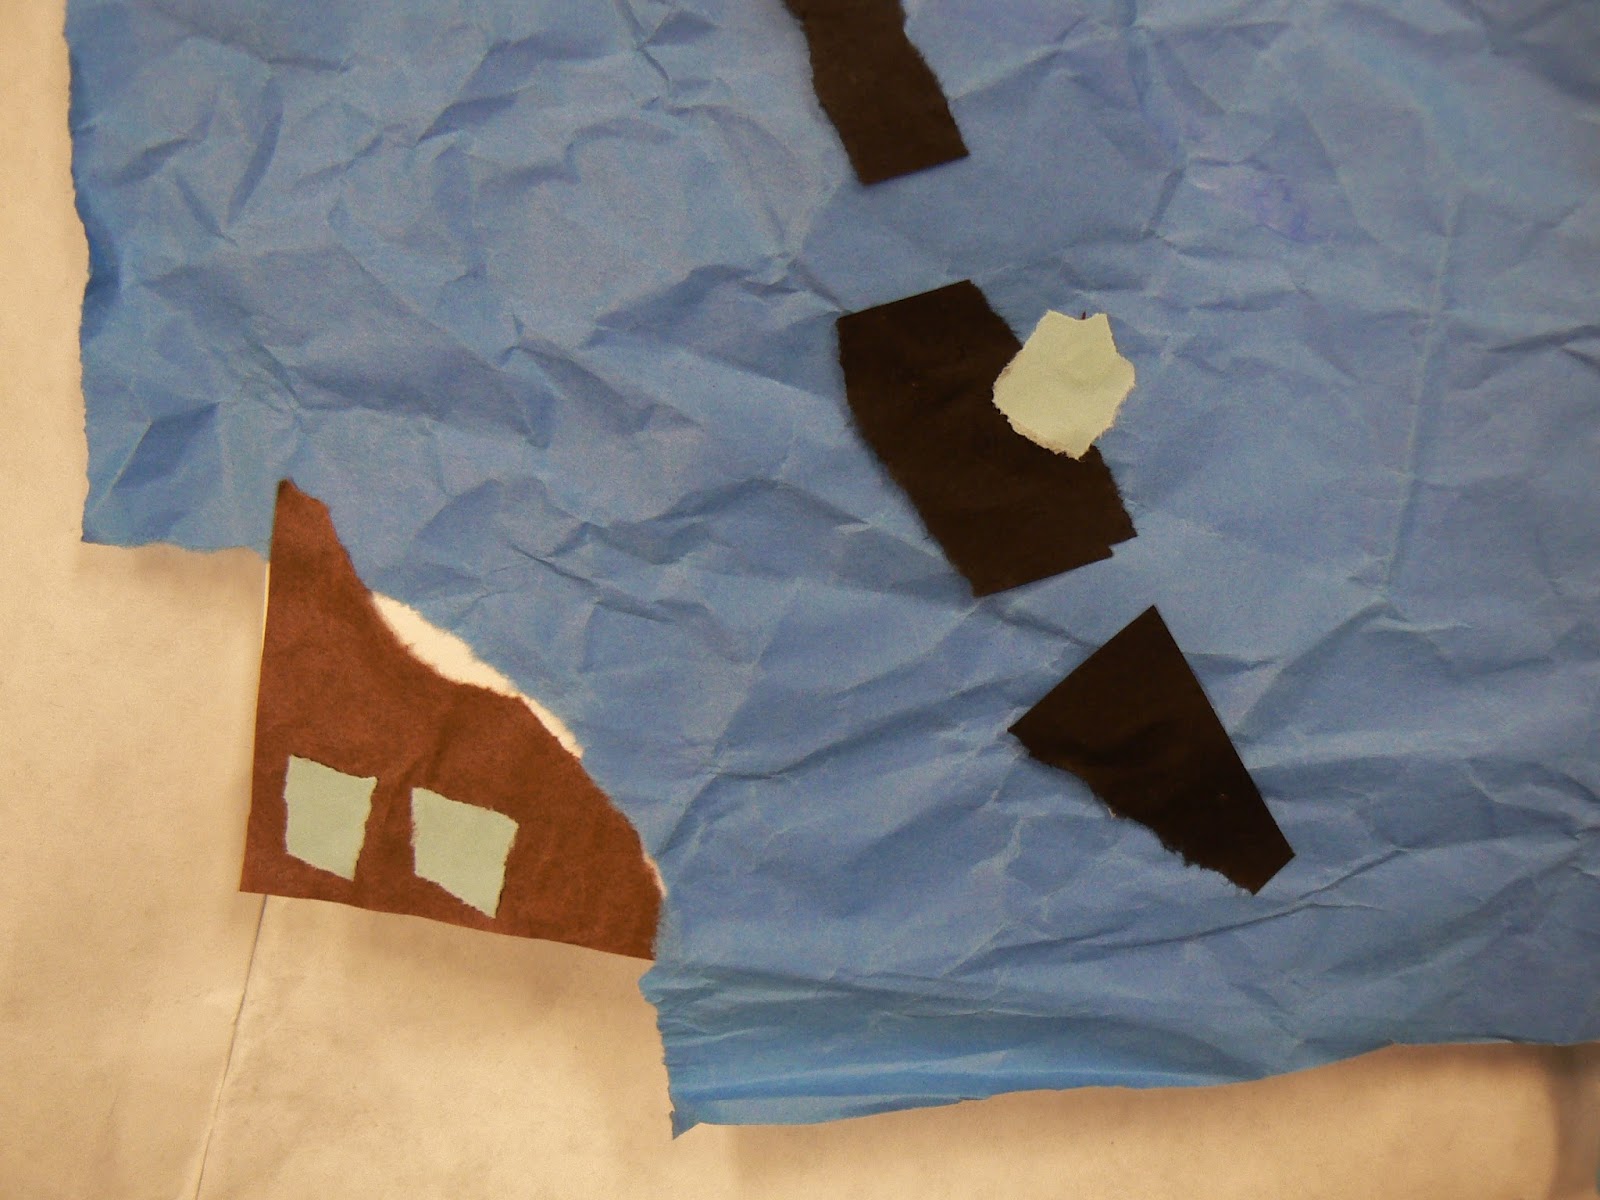
This fellow used clear envelope to make window for his boat. He asked me if white glue would secure the metal "anchor." And he replied: "try it." Notice careful holes on left and right. He fashioned felt strip to tether two pine needle brushes. Very precise. Very cool!

  
Three minutes. Karl Marxhausen instructs students in Mrs. Marxhausen's art class. Second week of collage-making.


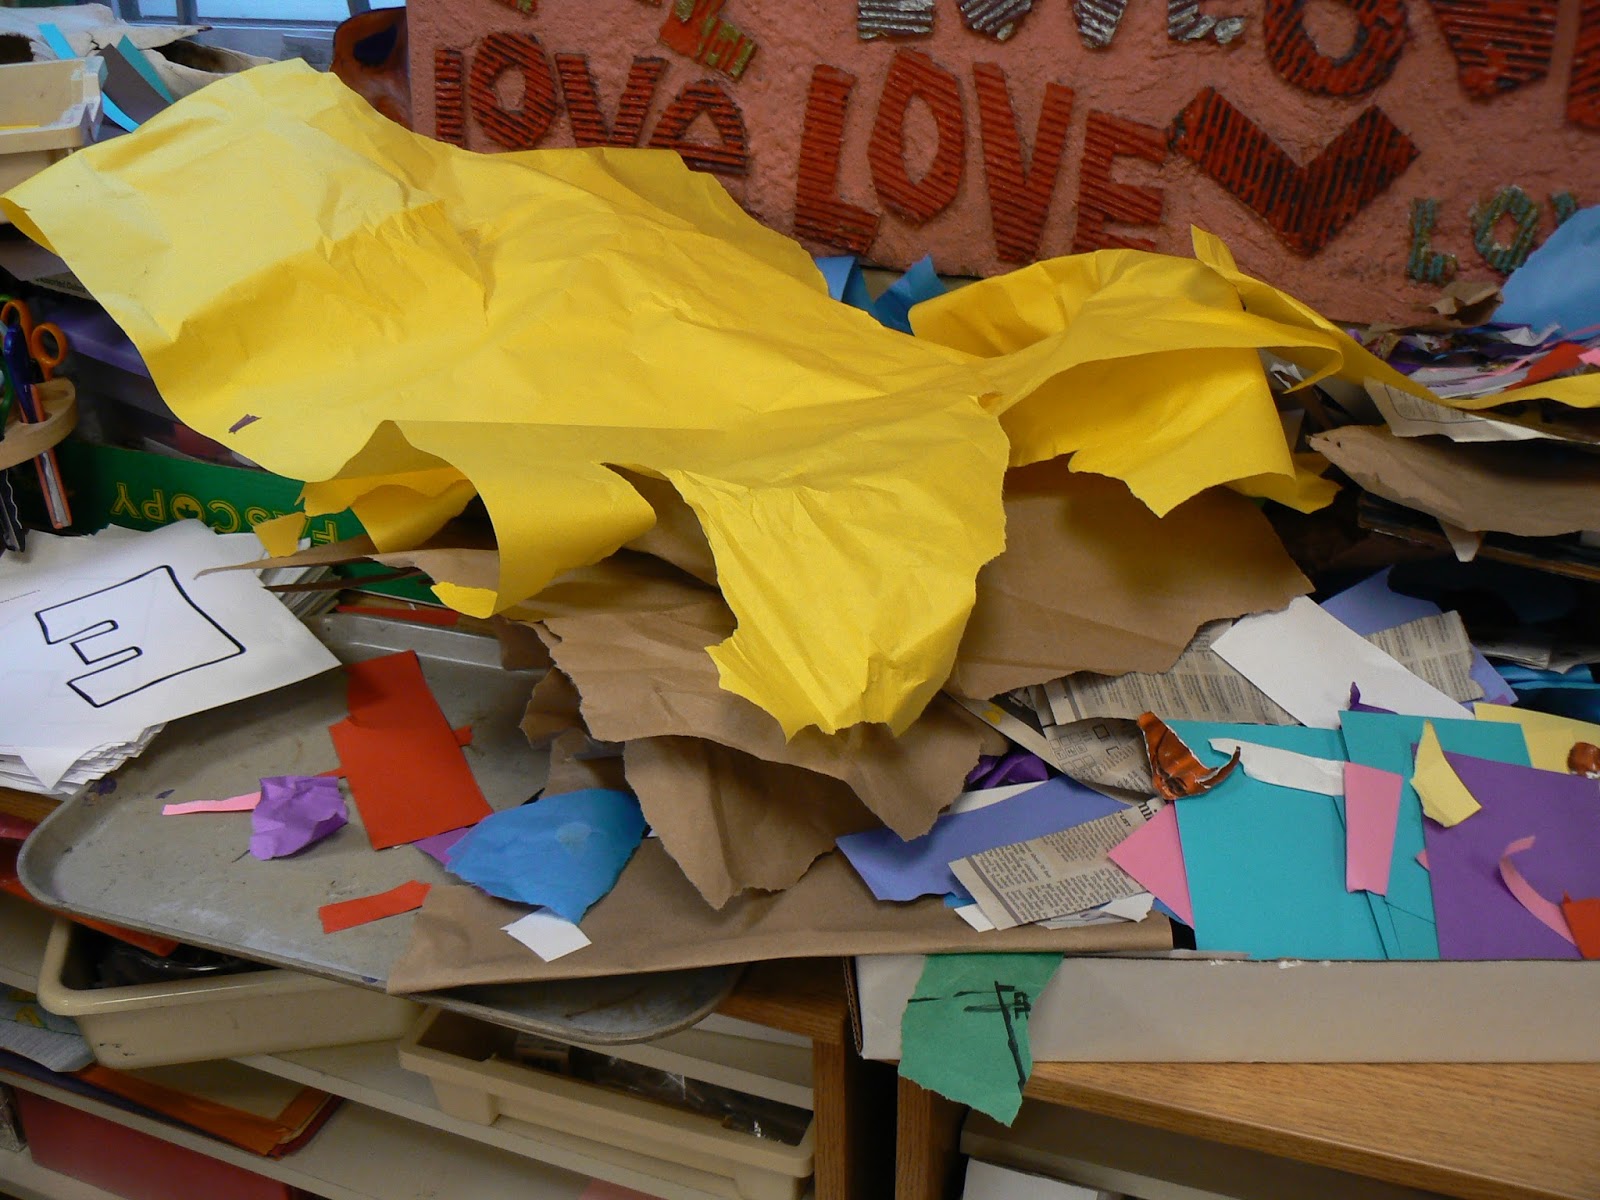
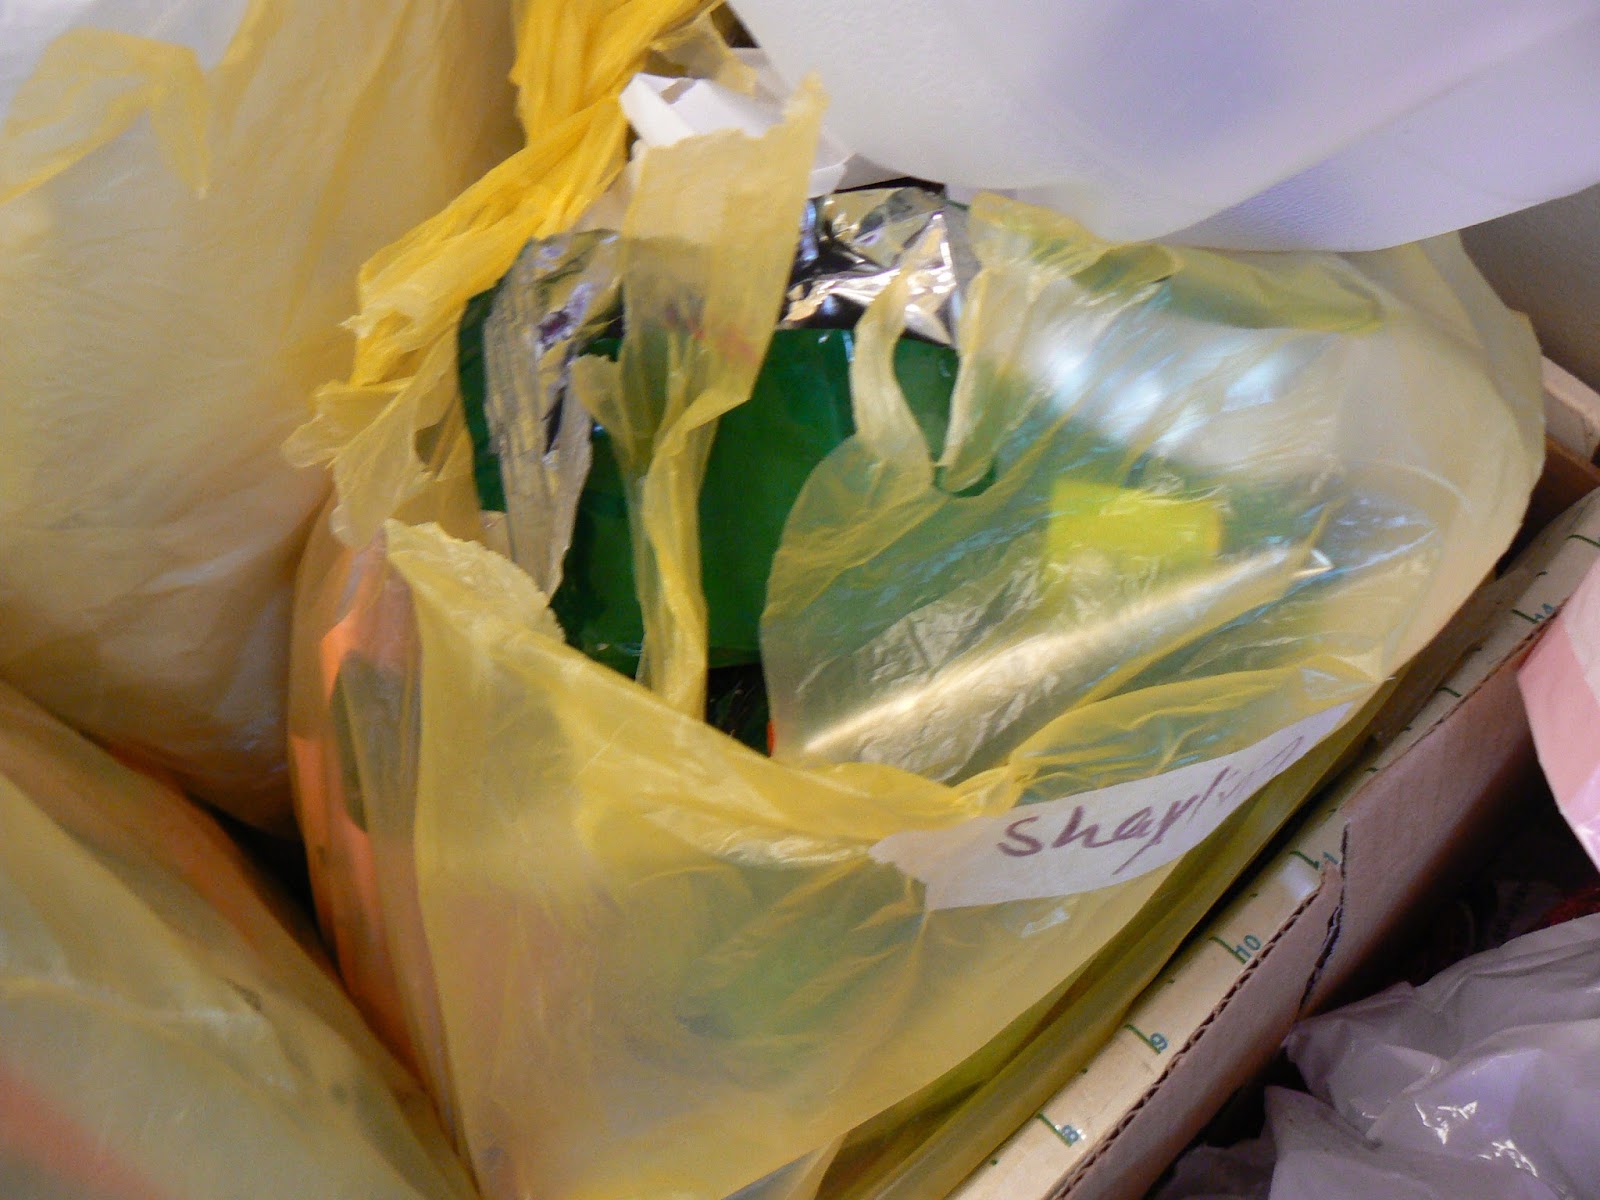
Students were instructed to CUT THE SMALL PORTION they needed from the red netting or the shredded feed bag and then LEAVE THE REST for another to take from. I cut the long green mesh into smaller segments. The yellow paint patch cut down to size. The rubber bumper sleeve cut down. The teacher pulled out felt and string from her supply. These were added each CLASS  PERIOD to  a material box for students to look through.


A few students had looked for their own materials outside. A valuable lesson in itself. Selecting shapes is what art makers do. They shared some of what they brought in with others at their table. Pine cones, silver potato chip bag lining, milk jug lids, this and that.


 Find a center of attention. A squashed sour gum ball from a tree. A focus.


It pleased me to see students arrange abstract shapes like this. To see plastic as a green line to be used as "a stem."


I pulled corrugated cardboard apart to reveal the lines. I showed a student how to do it and he helped make more of this. To be used by others.


One student was DETERMINED to CUT  APART a clean empty plastic milk jug. This was the place to do just that! He told me he liked the rib pattern around the spout. I said he could squash that portion flat by stepping on it on the floor. I offered. He accepted. He took the squashed portion and cut into two halves with his scissors. He glued these to the paper collage he started last time. Next.


One tore out the Mc Donald's M and cut a heart out of the Doritos bag she brought to the art room with her. Next.


 See-through materials abound.
He used the yellow paint scrap. He cut the black bumper with a scissors and made himself a boat shape.


It is the TETHERS of string I see. Wow.
Figuring it out.
Good job class.
Left, orange shape is the body of a jelly fish. The blue-white strands underneath, its tentacles.

Next, tethered can top-side. Next, strings on back-side. YES.


Left, a tall singular pod shell neatly secured with yarn. There is balance. It is beautiful.


Above, OVER
UNDER
SEE THROUGH

SWEET!!!

flat paper collage - students begin


March 21st, 22nd, and 23rd. The week her fifth and sixth grade groups began doing their first collage my wife asked me to come into her art room and assist. As the week progressed Mrs. Marxhausen shaped up the task. The collage needed to be FLAT and made with PAPER. Textures and other materials would come at another time. No glue gun or tape. Students used glue from the bottle. She was sick one day and got a substitute teacher to manage the students. She gave me instructions for the students to follow. In a day she was back in her room.

It was different to stand around, walk by table groups, and watch their work develop. But mostly stand back.

There was plenty of materials. Magazines, newspapers, colored paper rolls, and cut paper strips.

A few personal reflections of my own.


Nervousness. Not knowing what it might look like. No steps to follow. I could only guess what he was thinking. A student snipped little pieces of newspaper in a pile, above. But it was hard for him to settle and focus. I showed him how to move the larger shapes around and then I moved it back the way he had it. He seemed okay with it. But where I am coming from and what he was experiencing were light years apart. He was just starting the journey. I've been through several. The following week when the teacher gave him back his piece he threw it in the trash can. He didn't like it one bit. I pulled it out later. I liked the balance in it.

As a working artist, I could identify with the chaos and uncertainty this medium presented.

All eight classes produced a wide variety. Each solving it their way. I believe with all the materials, each shape, selecting, pasting, getting the slow glue bottle to work, all of it becomes your experience. Finding out what works for you and what does not. Yes!! Double click to enlarge.


Paper strips were popular. Cut with scissors.


One student had scissor-cut three strips of newspaper, glued down as diagonals. I noticed as I walked by his table that THAT was as far as he could go. It was quite easy to "get stuck." Collage can be that way. No frame of reference. Each dealt with the dilemma. Some spent more time chatting than experimenting. Some fiddled around.

At the same table another student had carefully scissor-cut a pile of red squares, a pile of white squares, and a pile of blue squares. Then he too got stuck. I happened to see the next thing: the student held all the squares in his hands above the board and let them fall down, a cascade all over the board. He looked over his shoulder at me and grinned. I was so proud of him. His idea. His risk. His trying something out. The next time I passed by he had rearranged all of it so there was a horizontal row of red squares overlapping each other across the top. A mid-row of white squares doing the same. And at the bottom, a row of blue squares lapped over each other. Moving your items around the page, and then moving it to another place, well, that takes time to do.

The student with the diagonal stripes above, he DID do MORE to his piece. Added scissor-cut squares and some hand torn shapes. He might have gotten that idea from his neighbor. Hurray!!


Hand torn shapes have their own character.

As I walked around the room some students asked me: "how am I doing?" I offered nothing. They were art makers, navigating unknown territory, learning tons one shape at a time. Their own effort.


Some students built up off the paper, 3D structures. It was not what Mrs. Marxhausen had asked for. Some students resorted to using marker and drawing. Paper shapes - flatness - color = these were a struggle.


Some grabbed everything they could and piled, piled, piled to "get it done."


Others managed.
 
On Wednesday I made my own collage using one color shapes onto the white board. Students followed it. Then, the art teacher made another rule: cover over all the white of the board. On Thursday I made another sample collage that met the boundaries set by the teacher.
 
1) Cover the whole board with one background color.
2) Glue smaller hand-torn shapes on top.


Untitled. 14 by 15 inches. Flat paper on tagboard. Karl Marxhausen. Details, next.
 
 
The Thursday classes of fifth grade and sixth grade did works that mirrored my sample. A solid background. Hand-torn shapes.

For many, figuring out how to get paper big enough to cover the board TOO UP  MUCH of the 50 minute class period. Some traced the board on top of the paper, then cut that shape out, and glued it down. Some hand tore a shape larger than the board and glued that down. Some wrapped the paper around all four edges of the board. Some covered the back side as well. Lots of figuring went into THAT.


Interesting. One large torn shape. Strips to create borders. And delicate torn strips along bottom border edge. Done by a student. Bravo!!


Hand torn. Shapes that mirrored negative spaces. Nice!!

Add textures following week.